Your First Library & Scan
After the container starts, Prismedia needs at least one watched library root. A root is a folder inside the container — usually somewhere under /media — plus the media types you want scanned from that folder.
Start with Organize Your Media Folders if you are choosing your layout. It shows which path to enter, the toggles for each folder, and what should appear after scanning.
1. Open the app
On the computer running Docker, open http://localhost:8008. From another device, use the server's reachable network address and port. Complete the first-run wizard to create your administrator account, or sign in if setup is already complete.
2. Add a watched root
Go to Settings → Watched Libraries and choose Browse Folder. Navigate to a mounted folder such as /media/movies or /media/books, give it an optional label, choose the scan types, then select Add Library. For a mixed collection, start with one root per media folder rather than enabling every scan type on /media.
If the folder browser starts elsewhere, choose Up until you reach /, then open media (or the container destination you used in your Docker mount). Check the selected path above the folder list before adding the library.
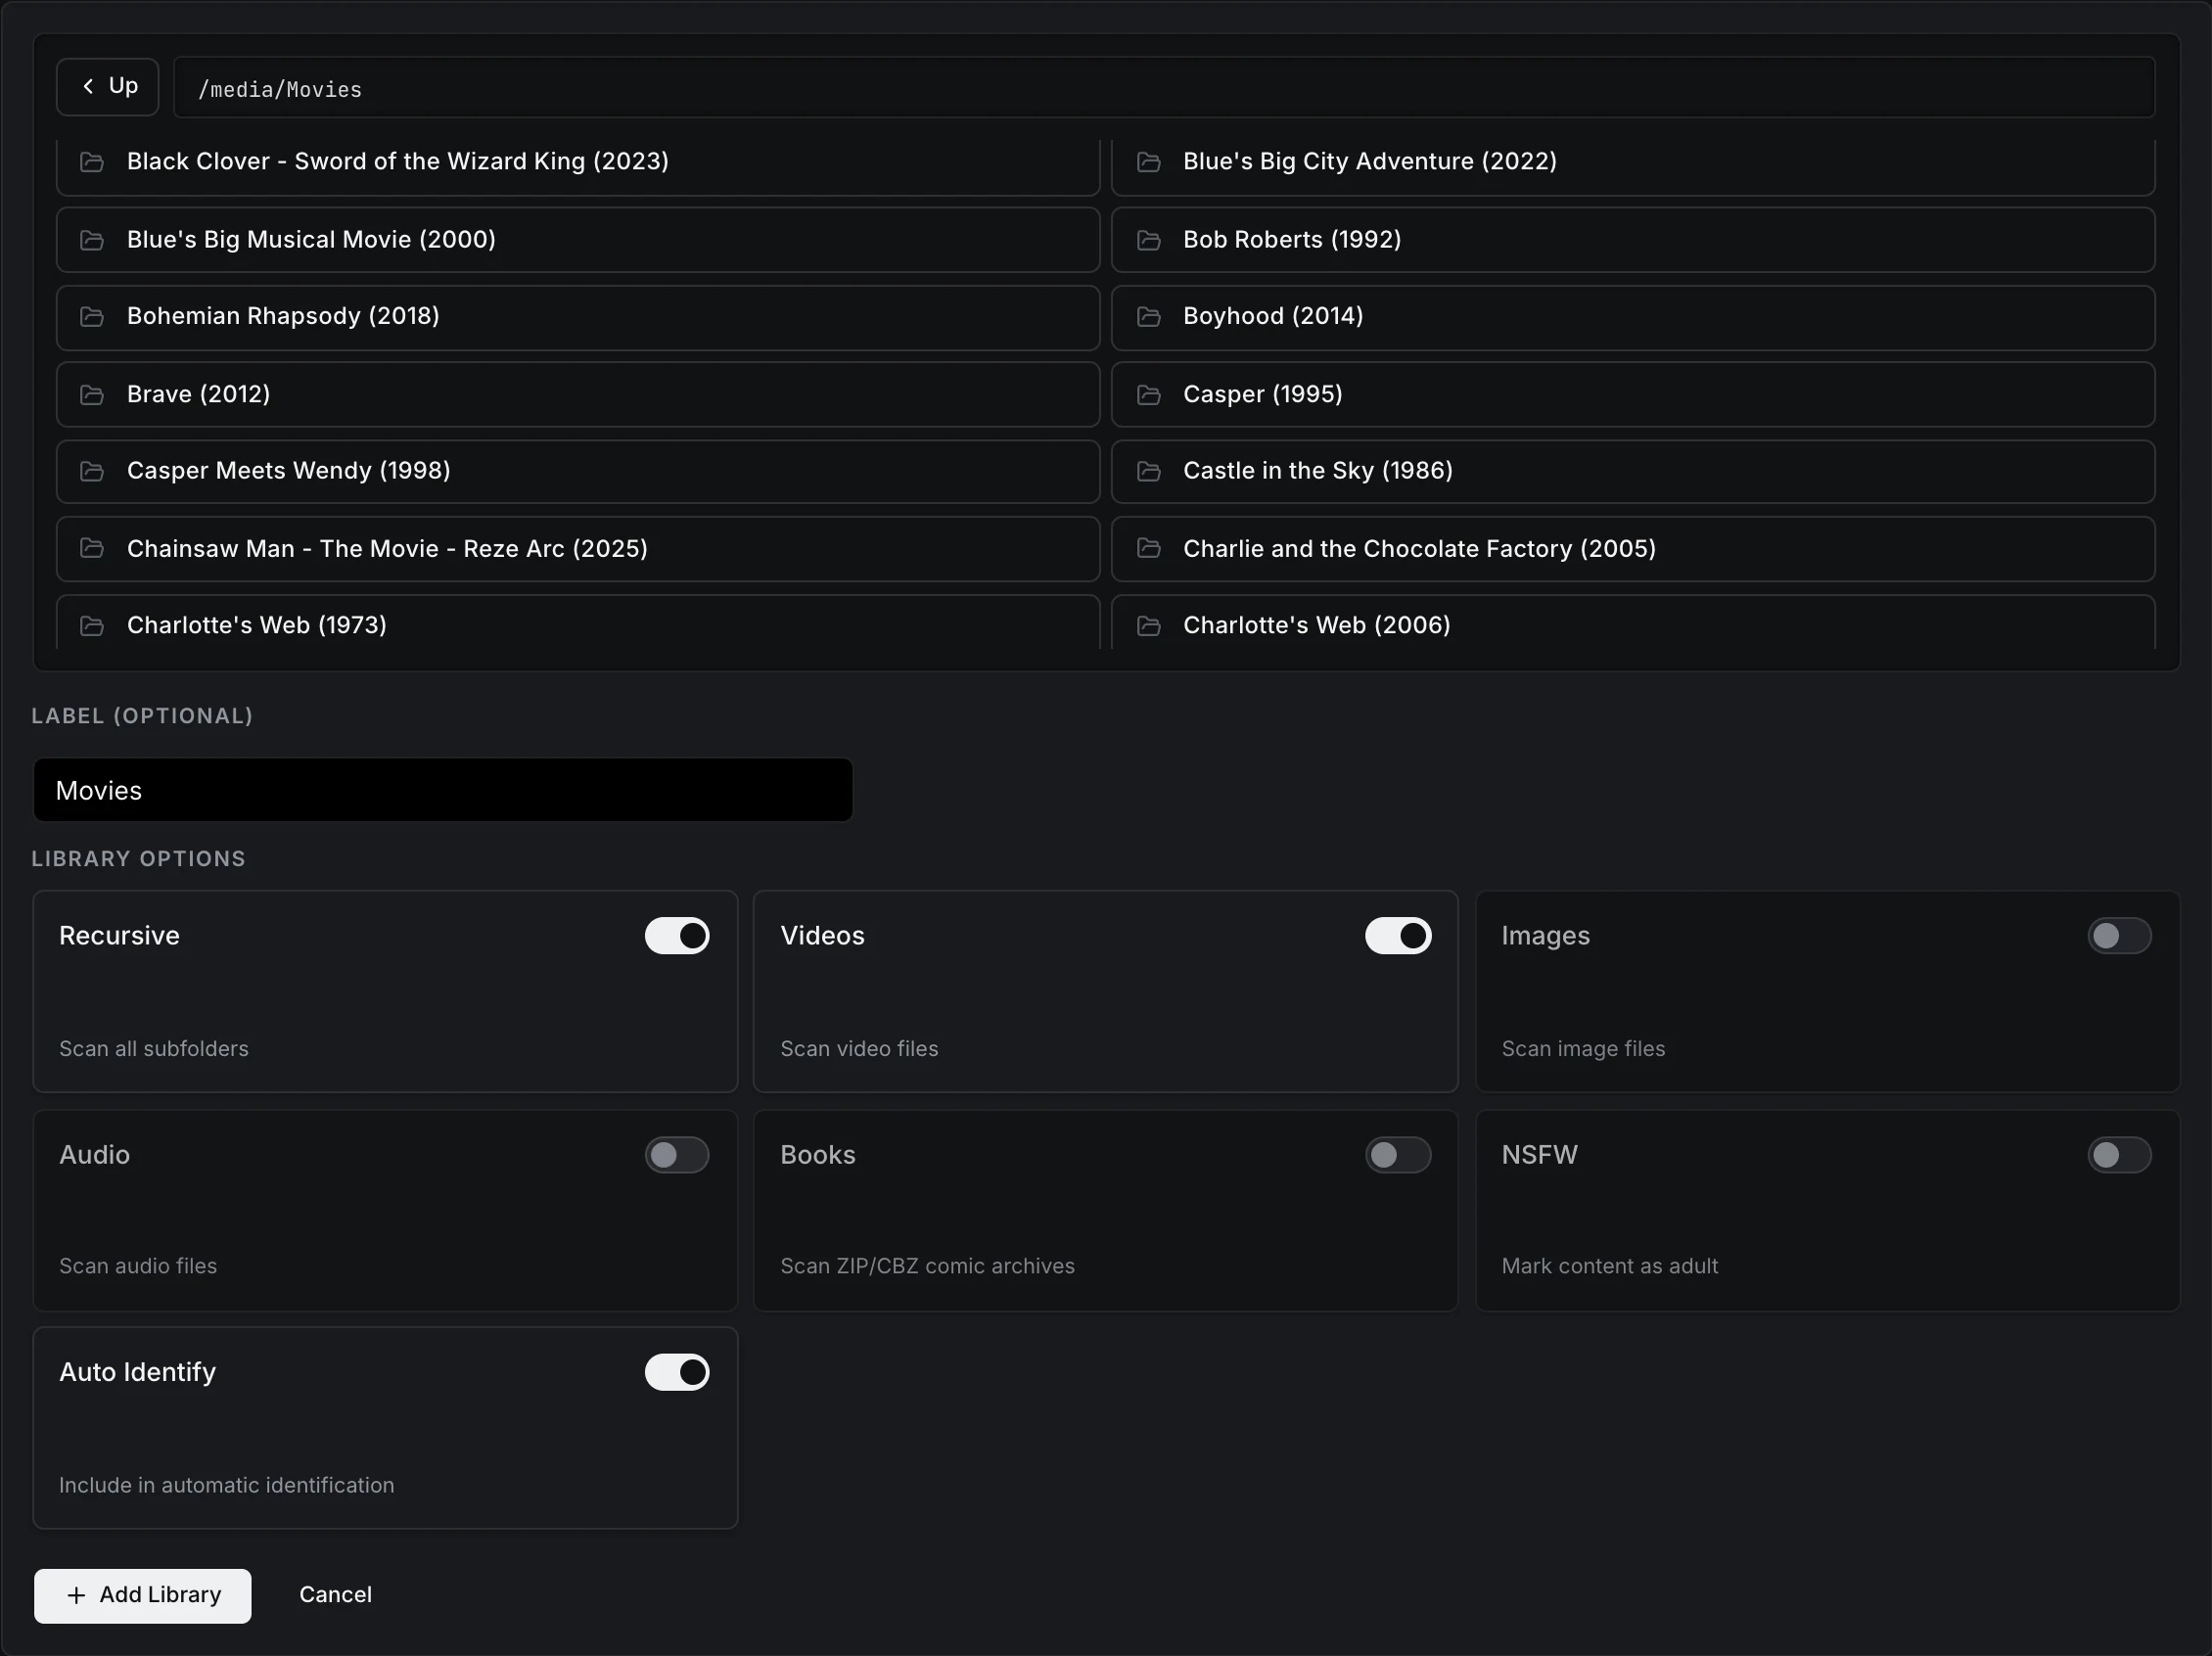
The root path is the path inside the container, not on the host. If you mounted /srv/movies:/media/movies, the root path is /media/movies.
Choose the scan toggles that match the folder:
| Toggle | Scans |
|---|---|
| Videos | Video files → movies, series, seasons, and episodes. |
| Images | Loose image files and folders of images (galleries). |
| Books | .cbz/.zip comics, .epub/.pdf eBooks, and .m4b/.m4a/.mp3 audiobooks. |
| Audio | Music folders → artists, albums, and tracks. |
Other per-root settings:
| Setting | Meaning |
|---|---|
| Enabled | Disabled roots stay configured but are skipped by scans. |
| Recursive | Walk subfolders. Leave on unless the root is a single flat folder. |
| NSFW | Marks all media under the root as restricted by default. |
| Auto Identify | Whether this root participates in automatic identification during scans (see Identify & Enrich). |
Use separate roots when different folders need different scan behavior or visibility. How files become entities is covered in detail in Library & Scanning.
3. Run the first scan
A newly added root starts scanning immediately for exactly the media kinds it has enabled. You can also trigger scans manually from:
- Jobs, for a general library scan.
- Settings → Watched Libraries, for root-level management.
- Files, for a specific root, folder, or file context.
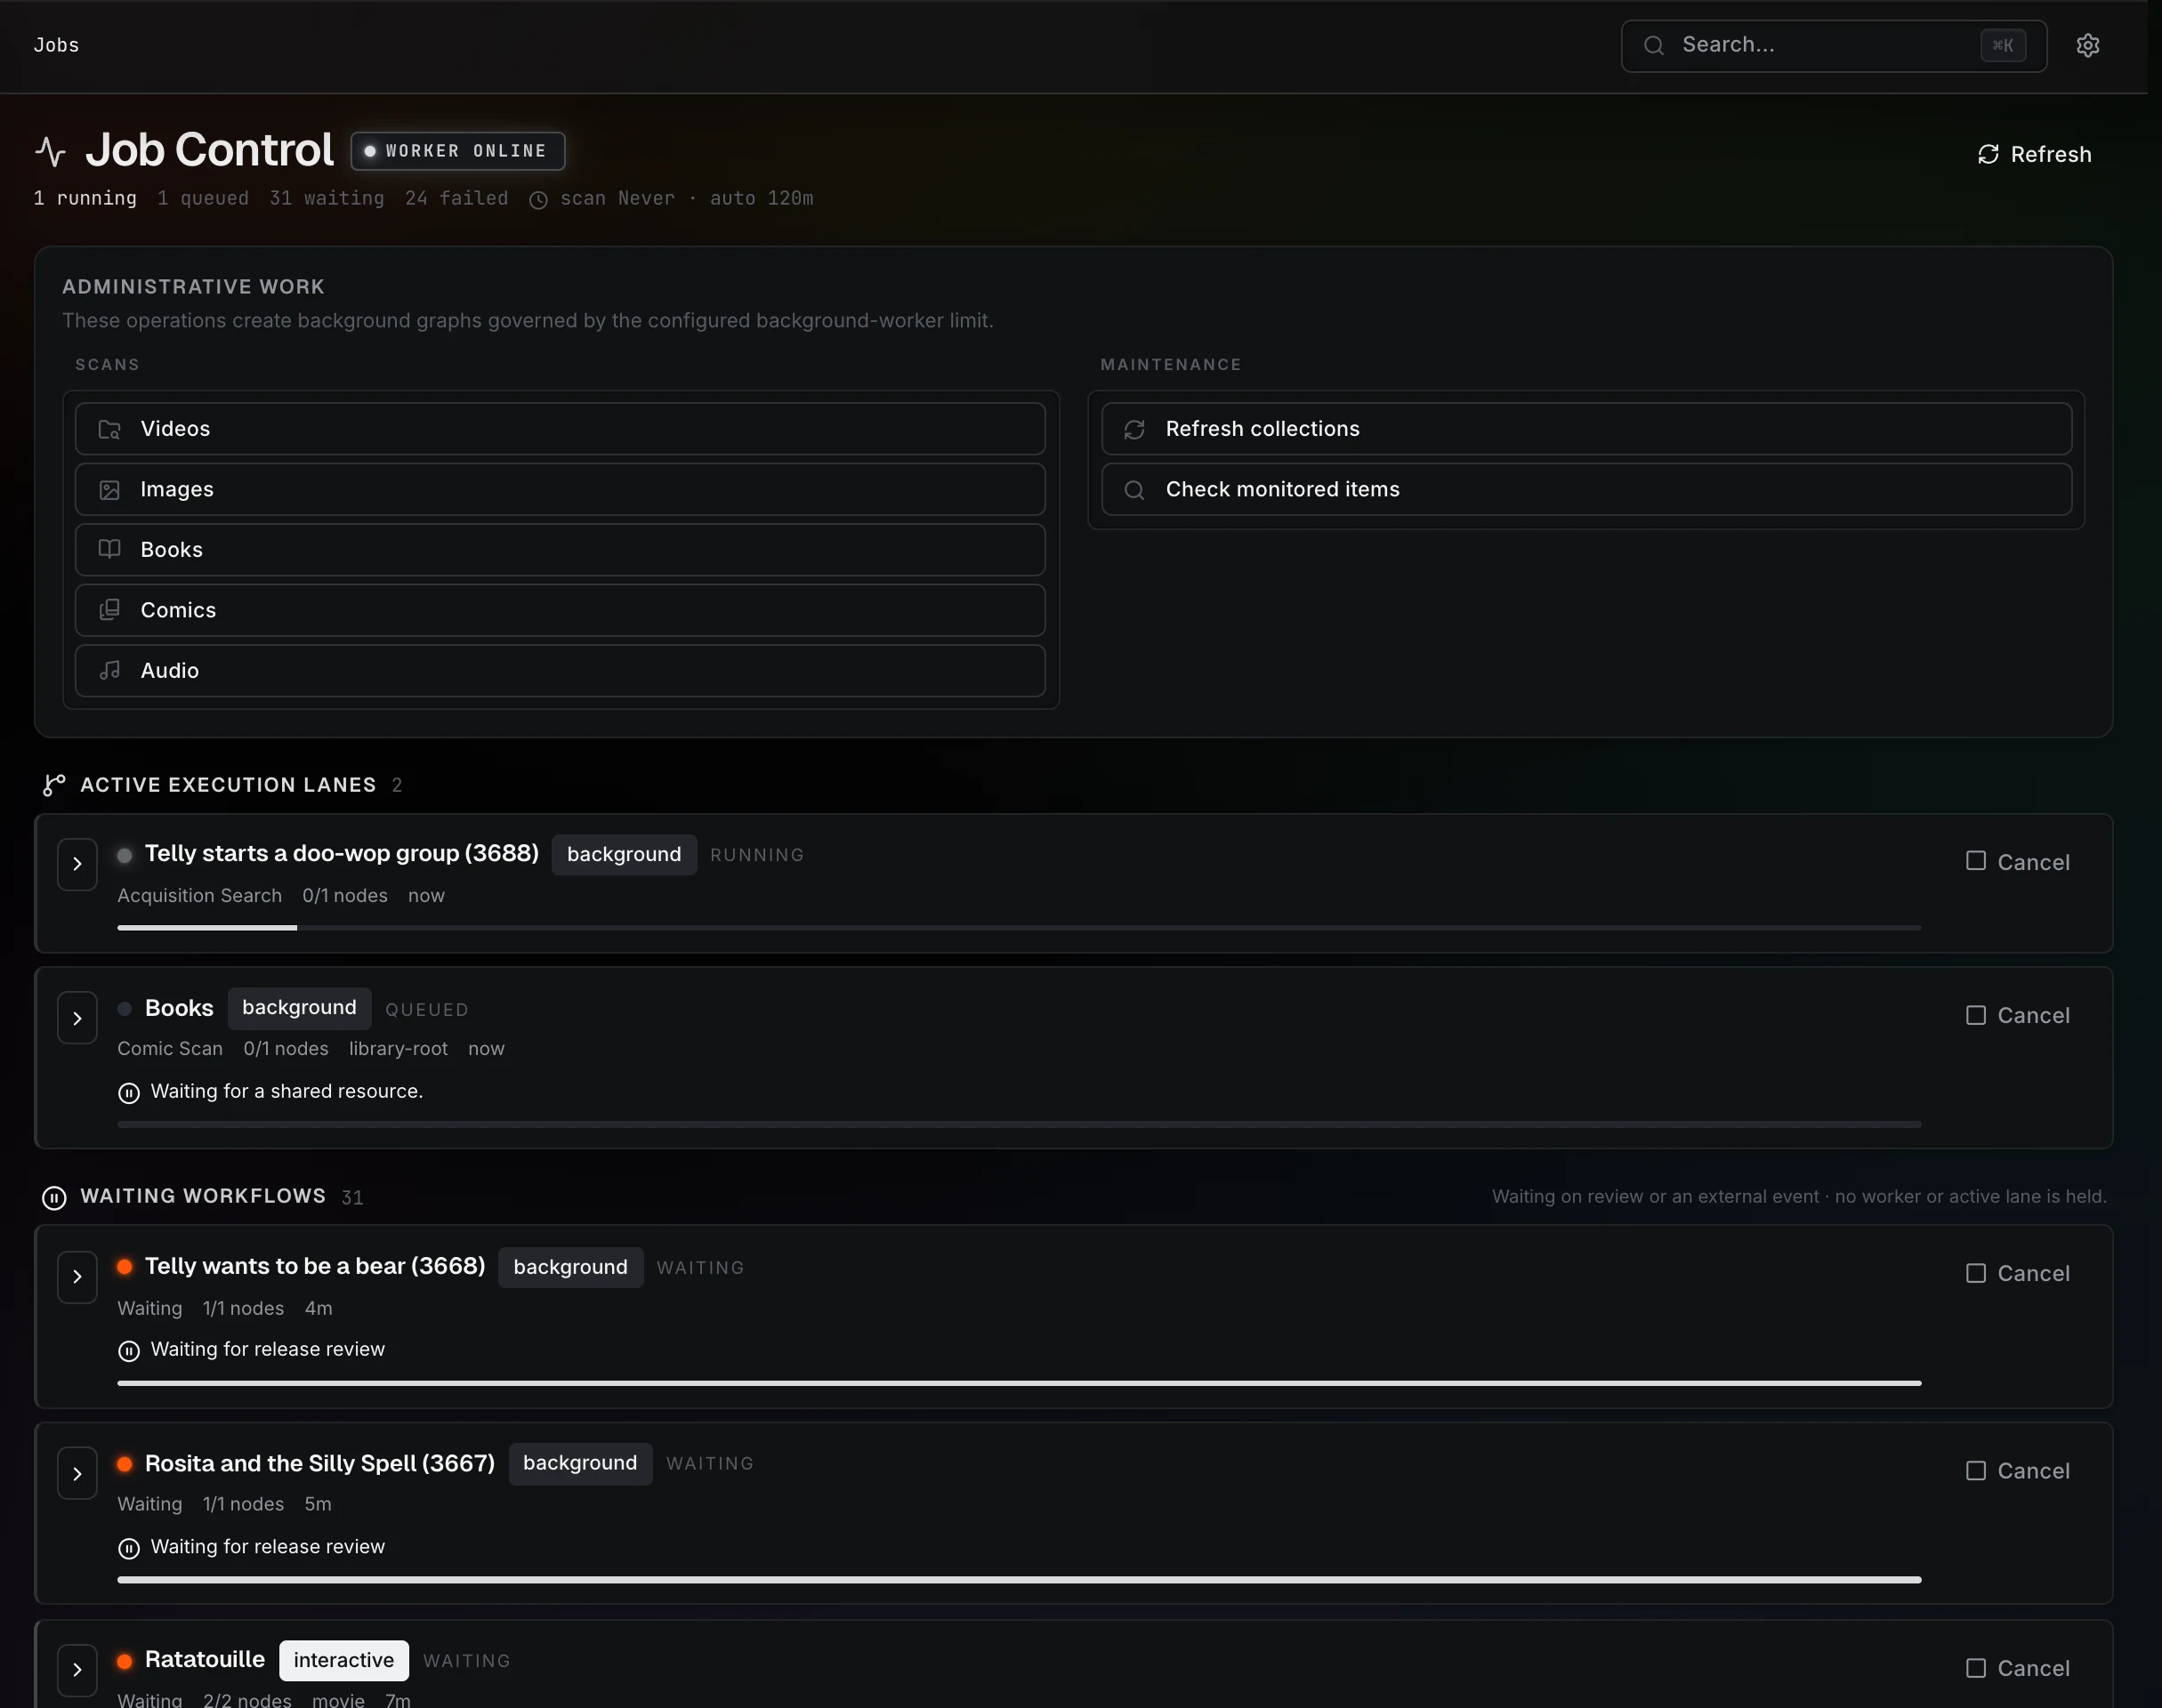
The worker enqueues follow-up jobs for probing, thumbnails, waveforms, sprites, subtitles, HLS assets, and metadata imports as needed. Scans are incremental — an unchanged root finishes almost instantly on the next pass, while a changed root does the full work.
4. Verify in Browse and Files
Use the browse pages for catalog views:
- Movies, Series, and Videos
- Galleries and Images
- Comics and eBooks
- Audio and Artists
- People, Studios, and Tags
- Collections
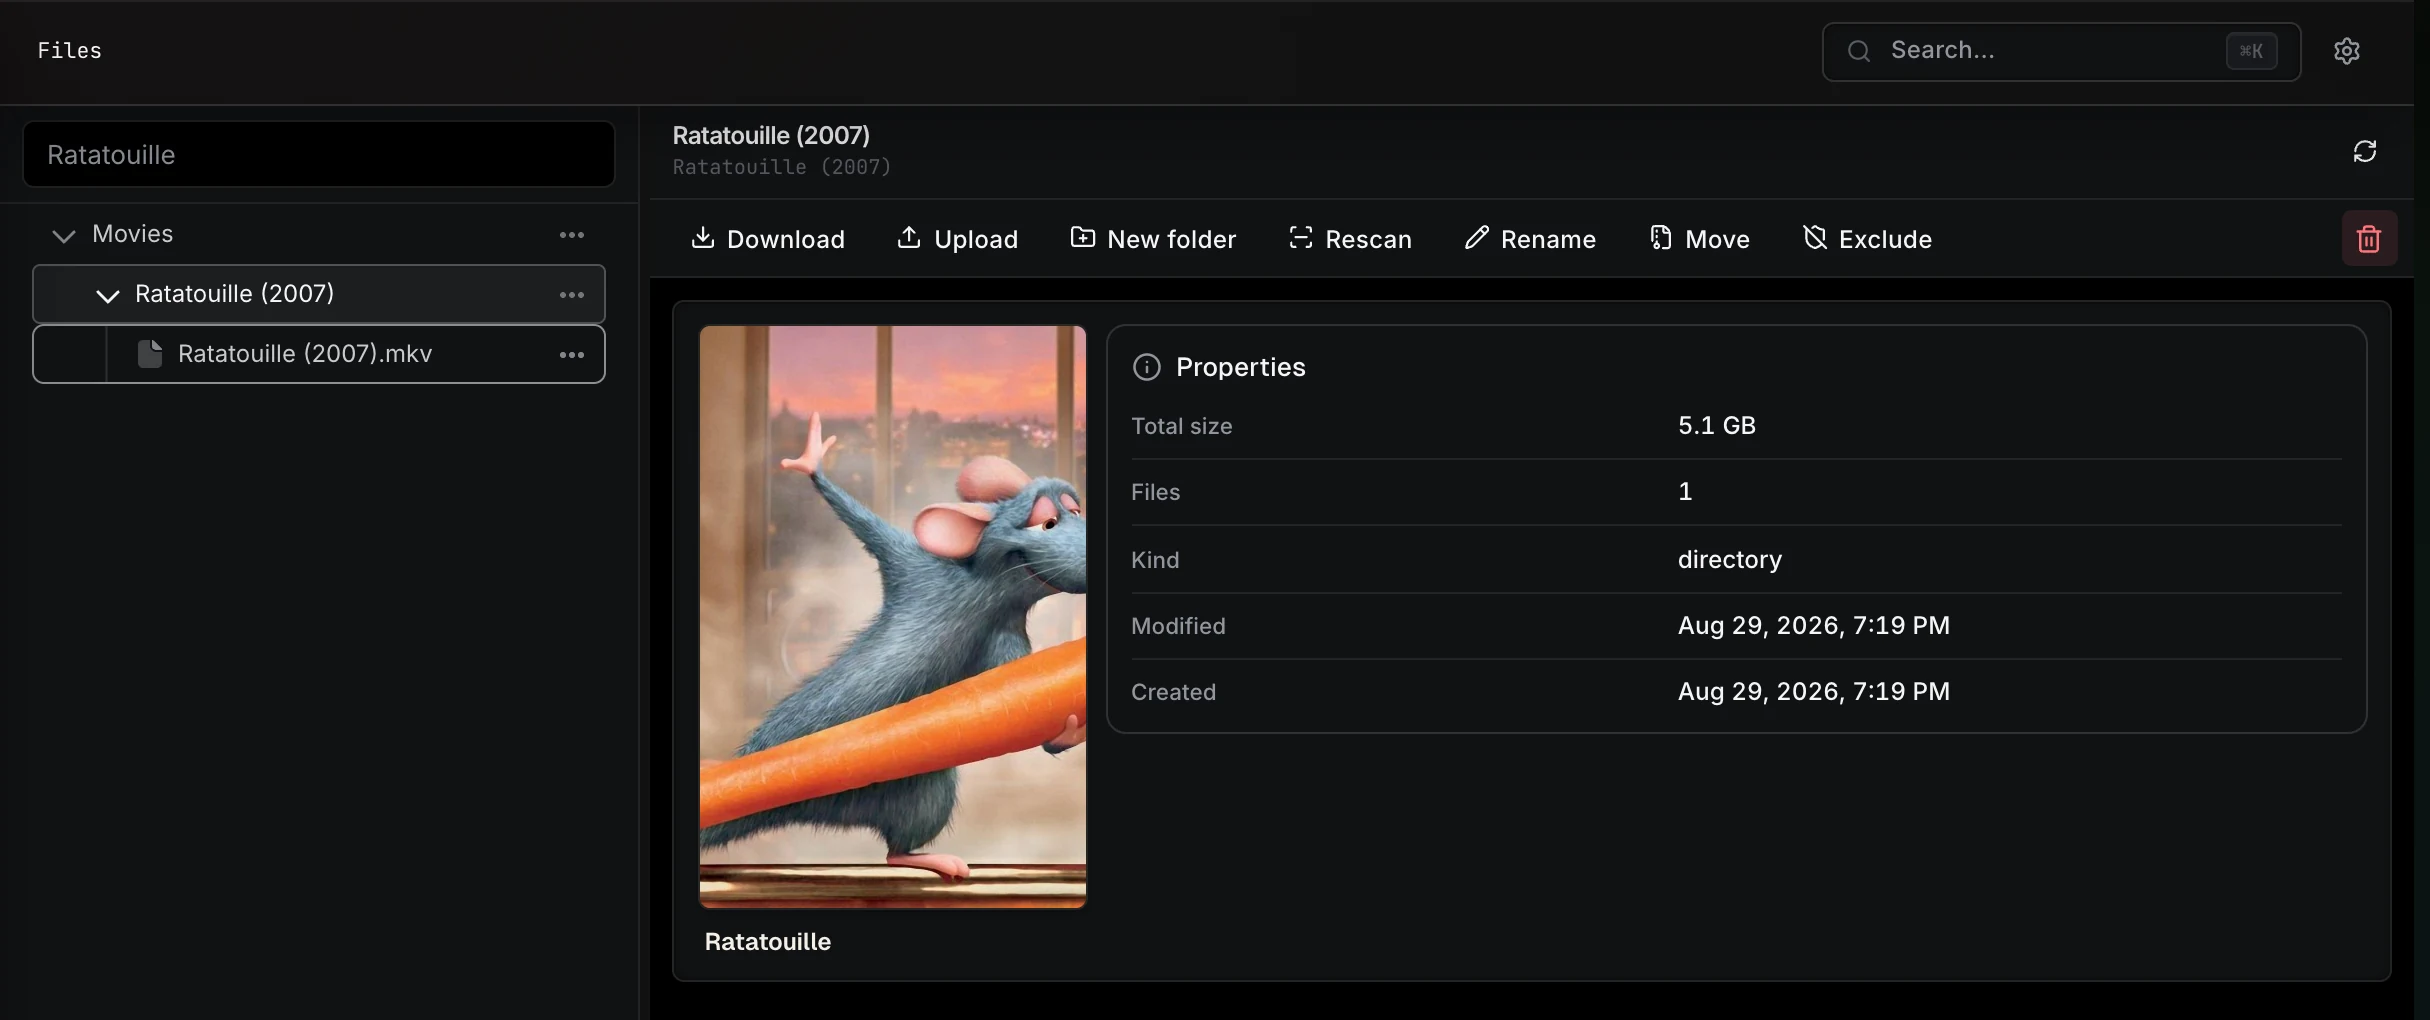
Use Files to inspect the source folder layout, linked entities, exclusions, and file operations.
5. Open an item
Open a scanned item from its library. Play a video or audio file, or open a book in the reader. This checks that the server can read the source file and deliver it to your device.
Artwork and previews may continue appearing as background jobs finish. If the item is missing, in the wrong library, or will not open, use the troubleshooting checks before adding more roots.
Once this works in the browser, you can connect the native app to the same server.
6. Set visibility
Prismedia is designed for private LAN use, but some libraries may still contain content you do not want shown by default. Mark roots or entities as NSFW where appropriate and control visibility from Settings → Content Visibility.
Visibility is enforced across browse pages, search, files, identify, jobs context, relationship rails, playback, and OPDS. See Settings.
7. Identify metadata
Once your media is scanned, open Identify (or use a detail page's Identify action) to fetch provider metadata, review the proposal, and accept the fields and artwork you want.
Walk through it in Identify & Enrich Your Media.