First Boot
This page walks through what happens the first time you open Obscura: any one-time gates, adding library roots, kicking off the first scan, and verifying it landed.
1. Open the app
After docker compose up -d completes, open http://localhost:8008. You should see one of two things:
- Empty dashboard. A fresh install with no library roots. Skip to step 3.
- Breaking-upgrade gate. A full-page takeover explaining a destructive schema change.
2. The breaking-upgrade gate (if shown)
Obscura is pre-1.0. When a release would destroy data (e.g. dropping a populated table from a previous schema), the app blocks startup with a one-time gate that shows what changes and asks for explicit consent.
The gate appears when:
- Your
/datavolume contains data from a previous schema, and - The current release contains a destructive migration that hasn't been accepted yet.
Click Continue & rebuild library. Obscura writes a marker file to /data/.breaking-gate/<gate-id>.accepted, restarts the API process, and reloads the page when it comes back up. The polling loop waits up to 60 seconds.
After the gate accepts:
- Pending migrations apply (drops + recreates as needed).
- The breaking-gate marker prevents the gate from re-appearing on subsequent boots.
- Your library files on disk are untouched — only DB rows are rebuilt.
- You'll need to rescan your library roots (covered below).
Don't bypass the gate. The gate exists because the migration will drop data, and the only safe path is to run the destructive migration intentionally and rescan. Restoring a /data snapshot from before the upgrade is the only way back.
If you're upgrading and want to read the change in context, see Upgrading.
3. Add a library root
Open Settings (sidebar bottom-left) and find the Watched Libraries card.
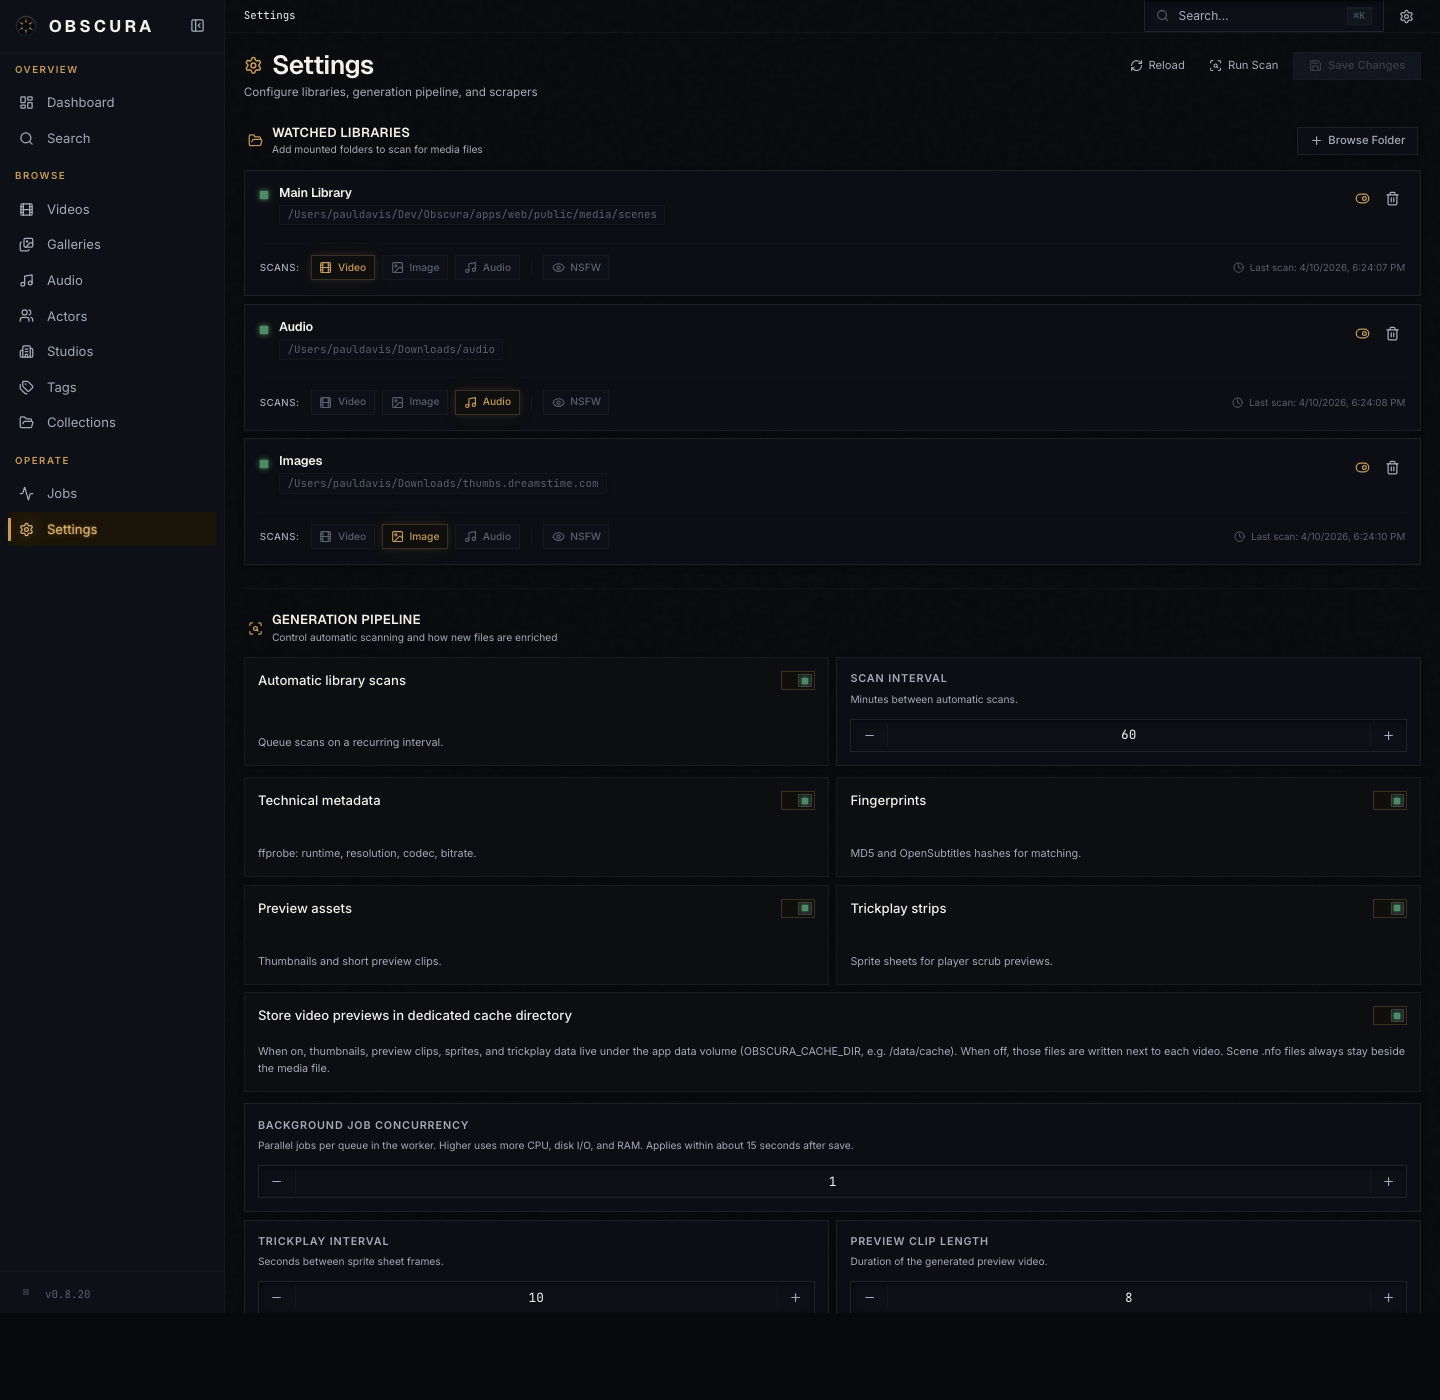
Click Add library root and fill in:
| Field | Meaning |
|---|---|
| Path | A path inside the container, e.g. /media/movies. |
| Label | Optional friendly name shown in the UI. |
| Recursive | Walk subdirectories. Almost always on. |
| Scan videos / images / audio | Independent scan-type flags. Pick what's in this root. |
| NSFW | Mark every entity discovered under this root as NSFW. |
Repeat for each root you want Obscura to watch. The path you enter is the path the container sees, not the host path — so if you mounted /srv/movies:/media/movies, the root path is /media/movies.
Read Library Organization before scanning. The depth of files under a root determines whether they become movies, flat-series episodes, or seasoned-series episodes. Adjusting after the fact means a rescan and re-identify pass.
4. Configure global library settings
The other panels on the Settings page govern how scans behave and what gets generated. Sensible defaults are set out of the box; the ones worth thinking about up front:
| Setting | Default | What to consider |
|---|---|---|
| Auto-scan enabled | off | Turn on once your library layout is stable. |
| Scan interval (minutes) | 60 | Frequency of recurring scans. |
| Auto-generate previews | on | Required for HLS playback to feel snappy. |
| Generate trickplay | on | Sprite sheet for hover-scrub on the timeline. |
| Background worker concurrency | 1 | Bump for faster generation, costs CPU. |
| Default playback mode | direct | Switch to hls if your clients can't seek directly. |
The full reference is in Settings. Defaults are fine for a first scan.
5. Run the first scan
Open the Operations page (sidebar → Jobs) — this is where you watch and trigger background work.
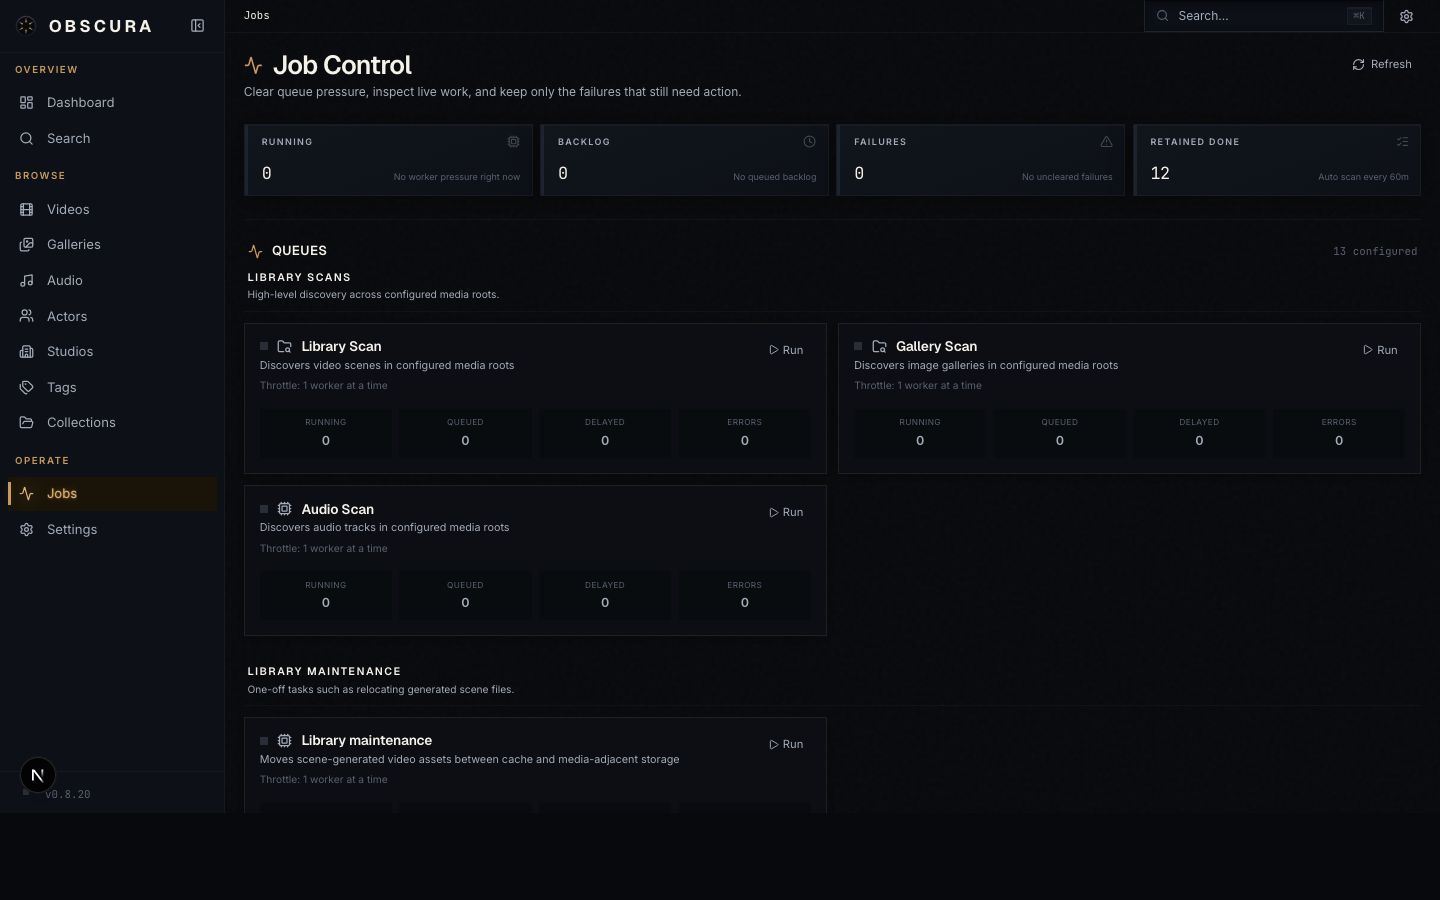
The page is grouped into queues by concern:
- Library scans — discover files in your roots
- Library maintenance — clean up generated assets
- Video media pipeline — probe, fingerprint, preview, sprites, HLS prep
- Metadata import — apply scrape/identify results
- Gallery image pipeline — image fingerprints, thumbnails
- Audio pipeline — probe, fingerprint, waveform
Find the Library scan queue card and click Run. The card shows live counts of running, backlog, and failed jobs. As the scan finds files, the Video media pipeline queues will fill in behind it (probe → fingerprint → preview).
You don't need to watch all of it — the worker handles things. Watch for Failures: any non-zero count means a file couldn't be processed. Click in for the full error.
On a large library the first scan can take a long time — gigabytes of preview clips and trickplay sprites get generated. You can keep using the app while this runs; the dashboard and library pages update as previews land.
6. Verify
Hop to Videos in the sidebar. You should see your scanned files with:
- Thumbnails (placeholder gradient if previews are still pending)
- Resolution, codec, and duration metadata from
ffprobe - An S01E03 badge on episodes (when season + episode numbers were parsed from the filename)
Hover a thumbnail to scrub through trickplay sprites. Click to open the detail page and play.
7. Identify (optional but recommended)
Filenames give you titles and episode numbers, but not posters, descriptions, performers, or studios. That's what Identify does.
The fastest path: open Identify in the sidebar, choose the Videos or Series tab, pick a provider (TMDB, TVDB, MusicBrainz, a Stash community scraper, or a StashBox endpoint depending on what's installed), and click Run. Each row gets one or more candidate matches; you accept or reject per row, or Auto-accept singletons.
The full workflow is in Identify & Scrape, including the cascade flow that maps a series to its seasons and episodes in one pass.
You're up. The next pages cover what's where in the UI (Browsing), how playback and the lightbox work (Playback), and how Identify actually flows (Identify & Scrape).